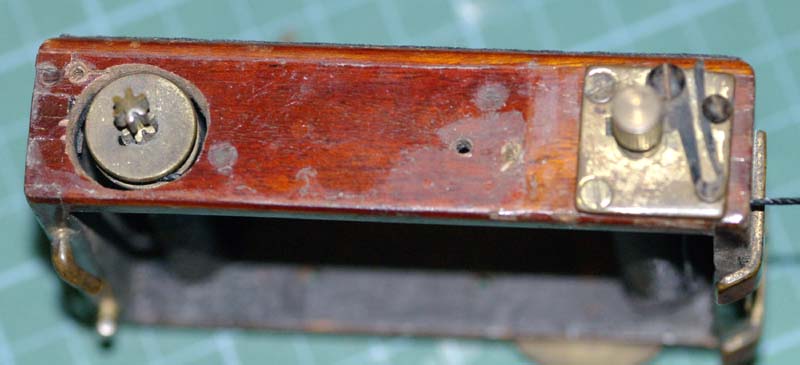
To replace the curtain you will need to pull the shutter apart. On most shutters the lensboard is held in place by a couple of bent brass pins that can be rotated out of the way. You can see these on the left of the shutter shown above. You will also need to remove a wooden baffle which is held in place by two screws at the top and bottom of the shutter. In this picture only the right side of the baffle remains, but the two brass crews on the bottom of the shutter can be clearly seen. With the baffle removed you will have a much easier time removing the shutter curtain.
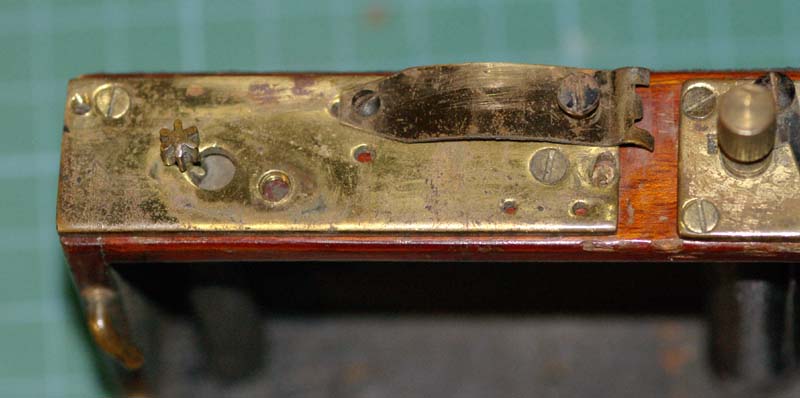
Now remove the existing curtain and measure it up. The curtains on this one were glued and sewn in place. The stitching was carefully cut with a craft knife and then the curtain was prised free of the axles. On the left hand axle there is a wooden (balsa?) cover that I had to slide off first. To do this I had to disassemble the gear train on the top plate.

First remove the arm and the large cog.

Next remove the plate trapping the small cog. This cog is atached to the top of the left hand axler.

Now you need to undo the rest of the screws holding the top plate in place and remove it.

The axle can now be maneuvered out if necessary.