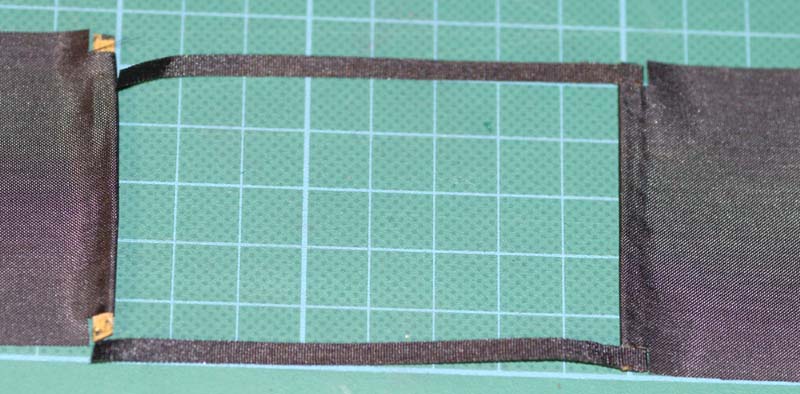
Lay the curtain out flat and carefully measure it. In the picture above you can see that the original shutter tape (the thin strips of material at the top and bottom of the aperture) had broken. The remaining piece was carefully measured to calculate the correct length of the aperture. There are two pieces of split bamboo that are used as attachment points for the curtain edges and the shutter tape. Carefully cut any stitching and prise the curtain from them, noting the distance from the ends of the curtain to where the pieces of bamboo lie. Add a little extra to the lengths for both the shutter cloth and tape as we will be gluing rather than stitching and may need more surface area for the glue to hold.
In the picture above I have cut a strip of shutter cloth the same width as the original shutter. The cloth is rubberised on one side. For the sake of clarity I have lightened the pictures a lot, which is why it appears grey. It is actually matt black on the rubbers side and gloss black on the other.

Cut two pieces of the shutter cloth and two pieces of shutter tape to the dimensions you have calculated. You will need to cut notches out of the cloth where the tape is attached. The picture above shows everything cut to the correct size and laid out in the correct positions. If anything, I could have made a little more allowance for overlap at either end of the shutter cloth.

Glue the pieces of bamboo to the rubberised side of the shutter cloth. I used contact cement which made it easier to clean up the residue once I had finshed.

The cloth is folded back over the piece of bamboo and glues to itself. The shutter tape is glued in the same way.

The finished join, shown from the rear.

Repeat the process for the other side, taking care to make sure that both sides remain parallel, i.e. that the shutter tapes is the same length at top and bottom.. Laying it all out on a gridded cutting mat makes this a little easier.

The finished shutter curtain shown from the (rubberised) front. The extra bits of contact cement on the curtain were simply rubbed off. At this point I left it all for 24 hours to make sure that the contact cement was properly cured.